How to Start a YouTube Channel on Your Phone - Complete Mobile Guide
No camera? No problem. Learn how to start a YouTube channel using only your smartphone in 2026. Apps, settings, filming tips & editing guide included.
YTNiches Team
Author
You do not need a $2,000 camera setup to start a YouTube channel.
You need the device already sitting in your pocket.
Modern smartphones record in 4K, have built-in stabilization, and connect directly to YouTube for upload — making them genuinely capable production studios that fit in your hand. Some of the fastest-growing YouTube channels in 2026 were started entirely on smartphones — and many still shoot that way today.
In this guide, you will learn exactly how to start a YouTube channel using nothing but your phone — from creating your channel and configuring your settings, to filming professional-looking videos, editing them on mobile, and uploading with full SEO optimization.
No excuses. No expensive gear required. Just your phone and this guide.
Can You Really Start YouTube with Just a Phone?
Short answer: absolutely yes.
Here is the longer answer: smartphone cameras have reached a point where the quality gap between a $800 phone and a $3,000 mirrorless camera is barely noticeable to the average YouTube viewer. What viewers notice is audio quality, lighting, and content value — none of which require an expensive camera.
Real Numbers on Smartphone Camera Quality
iPhone 15 Pro: 4K at 60fps, ProRes video, Cinematic mode
Samsung Galaxy S24: 8K video capability, 200MP photos
Google Pixel 8: Computational photography, excellent low-light performance
Budget phones ($200-$400): 1080p at 60fps — more than sufficient for YouTube
Even a 3-year-old mid-range smartphone records in full HD quality that is completely acceptable for YouTube.
What Phone Creators Actually Struggle With
The real challenges for phone YouTubers are not camera quality — they are:
Audio: Phone microphones pick up room echo and background noise. A $30 clip-on microphone solves this entirely.
Stabilization: Handheld phone footage can be shaky. A $15 phone tripod or $50 gimbal eliminates this.
Lighting: Built-in phone cameras struggle in low light. Filming near a window or using a $25 ring light dramatically improves results.
Storage: Long video files fill phone storage quickly. A $15 microSD card (for Android) or regular iCloud/Google Photos backup solves this.
None of these are expensive problems. All are solvable for under $100 total.
Success Stories of Phone-Only Channels
Thousands of creators built their first 10,000, 100,000, and even 1,000,000 subscribers filming entirely on their smartphones. The audience does not know or care what camera you used. They care about the value your content delivers.
Setting Up YouTube on Mobile
Step 1 — Download YouTube Studio App
YouTube Studio is the creator's management app — separate from the main YouTube viewing app. Download it from:
iOS: App Store → Search "YouTube Studio"
Android: Google Play Store → Search "YouTube Studio"
YouTube Studio mobile lets you:
Upload videos directly from your phone
Add titles, descriptions, and tags
Monitor analytics
Respond to comments
Manage monetization settings
Step 2 — Create Your YouTube Channel
If you do not have a channel yet:
Open the YouTube app (not YouTube Studio)
Tap your profile picture (top right)
Tap "Create a channel"
Enter your channel name
Tap "Create channel"
Your channel is live immediately.
Step 3 — Optimize Your Channel From Mobile
Profile picture: Tap your channel icon → Edit → Upload a photo from your phone gallery. Use a clear, recognizable image — a clean headshot or logo.
Channel description: Go to YouTube Studio app → Your Channel → Edit channel info → Description. Write a keyword-rich description explaining what your channel covers, who it is for, and your upload schedule.
Channel art (banner): Create your channel banner using Canva's mobile app (free). Search "YouTube channel art" in Canva's template library. Edit the template with your channel name and topic, then download and upload directly to YouTube Studio.
Step 4 — Configure Notification Settings
YouTube Studio app → Settings → Notifications.
Turn on notifications for:
New comments
New subscribers
Channel performance milestones
Responding to comments quickly in the early days significantly boosts your algorithmic performance.
Best Apps for Mobile YouTubers
Camera Apps
Native Camera App (Best Starting Point) Your phone's built-in camera app is optimized for your specific hardware and produces the best results in most situations. Before downloading third-party camera apps, learn what your built-in camera can do.
Key settings to configure:
Resolution: 4K if your phone supports it (or 1080p for smaller file sizes)
Frame rate: 30fps for standard content, 60fps for action/movement
Stabilization: Enable "Video Stabilization" or "Steady Video" in camera settings
Format: HEVC/H.265 for smaller file sizes (check your editing app supports it)
Filmic Pro ($14.99 — iOS/Android) For creators who want maximum camera control — manual focus, exposure, ISO, white balance, and professional audio monitoring. Overkill for beginners but excellent for intermediate creators who want DSLR-style control from their phone.
Editing Apps
CapCut (Free — iOS/Android) — Recommended for Beginners
CapCut is the best free mobile video editor for YouTube creators in 2026. It is powerful, intuitive, and has AI features built directly into the interface.
Key CapCut features for YouTubers:
Auto-captions: Automatically generates subtitles from your audio in seconds — saves hours of manual work
Auto-cut to music: Syncs your footage to background music automatically
Background removal: Remove or replace video backgrounds
Text templates: Professional animated text overlays
Speed curves: Smooth speed ramp effects
Templates: Pre-built video templates for quick assembly
VN Video Editor (Free — iOS/Android) Strong alternative to CapCut with excellent multi-track timeline editing. More traditional editing interface — better for creators comfortable with desktop-style editing on mobile.
iMovie (Free — iOS only) Apple's free editor is clean, intuitive, and produces excellent results for basic to intermediate editing. Best for iPhone users who want a simple, reliable option without the learning curve of more advanced apps.
KineMaster ($7.99/month — iOS/Android) The most powerful mobile editor available. Multi-track timeline, chroma key (green screen), precise color grading, and extensive effects library. Worth it for creators doing advanced mobile production.
Thumbnail Apps
Canva (Free — iOS/Android) — Essential The standard for mobile thumbnail creation. Hundreds of YouTube thumbnail templates, easy text editing, background removal tool, and brand kit for consistent channel branding across all thumbnails.
Adobe Express (Free — iOS/Android) Strong alternative to Canva with excellent photo editing capabilities. Better for thumbnails that require significant photo manipulation.
Audio Apps
Voice Record Pro (Free — iOS) High-quality voice recording app with noise reduction and audio enhancement. Record cleaner voiceover directly on your phone.
GarageBand (Free — iOS) For creators who want to edit audio tracks, add music, or record voiceover with more control.
How to Film Professional Videos on Your Phone
Lighting — The Most Important Factor
Your phone camera is only as good as the light available. Poor lighting is the #1 reason phone videos look unprofessional.
Natural light (free): Position yourself facing a window — not with the window behind you. Natural window light is soft, flattering, and makes footage look clean and professional. Film during daytime, ideally in the morning or early afternoon when light is most neutral.
Ring light ($20-$40): A ring light provides consistent, controlled light regardless of time of day or weather. Position it directly in front of you at eye level for the most flattering result. The circular reflection in your eyes ("ring light eyes") is a visual cue viewers associate with quality production.
Two-point lighting ($50-$100): Two small LED panel lights positioned at 45-degree angles (key light + fill light) create the professional studio look used by most mid-level creators.
Stabilization — Eliminate Shaky Footage
Phone tripod ($10-$20): The single most impactful accessory purchase for any phone YouTuber. A basic tripod with a phone mount eliminates all camera shake for static shots.
Gorilla pod/flexible tripod ($25-$35): Flexible legs that wrap around objects, stand on uneven surfaces, and position your phone at unusual angles. Excellent for versatile filming setups.
Phone gimbal ($80-$150): A motorized stabilizer that eliminates camera shake even while walking or moving. The DJI OM series and Hohem iSteady are the most popular options. Necessary only if your content involves movement.
Pro tip: Enable your phone's built-in electronic image stabilization (EIS) in camera settings. Combined with a tripod for static shots, this is all most creators need.
Audio — The Second Most Important Factor
Phone microphone (built-in): Usable in quiet environments with little echo. Always film in the quietest room available and minimize background noise (turn off fans, AC, close windows).
Clip-on lavalier microphone ($25-$50): Plugs into your phone's headphone jack (or USB-C/Lightning with an adapter). Clips to your collar and captures clear, close-range audio regardless of room acoustics. The single best audio upgrade available for under $50.
Rode VideoMicro ($80): A compact directional microphone that attaches to your phone via a mount. Excellent audio quality for on-camera content. Industry standard for mobile creators upgrading from clip-on mics.
Filming Angles and Composition
Rule of thirds: Enable the grid overlay in your camera settings. Position your eyes or face at the intersection points rather than dead center. This creates more visually interesting and professional-looking composition.
Eye level camera position: Film with the camera at eye level or slightly above — never below your face looking up. Below-face angles look unflattering and unprofessional.
Background: Keep your filming background clean and relevant. A cluttered messy background distracts viewers. A clean wall, bookshelf, or branded backdrop creates a professional impression.
Horizontal vs vertical: Film horizontally (landscape orientation) for standard YouTube long-form videos. Film vertically (portrait orientation) for YouTube Shorts. Never upload a vertical video to your main feed.
Phone Camera Settings Checklist
Before filming every video, check these settings:
✅ Airplane mode ON (eliminates notification interruptions)
✅ Do Not Disturb ON
✅ Resolution: 1080p or 4K
✅ Frame rate: 30fps
✅ Stabilization: ON
✅ Grid: ON (for composition)
✅ Microphone: External (if using clip-on)
✅ Storage: Sufficient space available
✅ Battery: Above 50%
✅ Lens: Clean (wipe with soft cloth)
Editing Your Video on Phone
Step-by-Step CapCut Editing Workflow
Step 1 — Import your footage Open CapCut → New Project → Select your video clips from gallery → Add to timeline.
Step 2 — Trim and cut Tap any clip to select it. Drag the edges to trim. Tap "Split" to cut at specific points. Remove all pauses, "ums," long silences, and mistakes.
Step 3 — Add background music Tap "Audio" → "Music" → Browse CapCut's royalty-free library or import from your downloads. Set music volume to 10-15% (low enough that it does not compete with your voice).
Step 4 — Add auto-captions Tap "Text" → "Auto Captions" → Select your language → Generate. CapCut automatically transcribes your entire video. Edit any errors by tapping individual words.
Step 5 — Add text overlays Tap "Text" → "Add Text" for key points, titles, or callouts. Use consistent fonts and colors that match your brand.
Step 6 — Color grade Tap "Adjust" → Increase brightness slightly, add a touch of contrast, and boost saturation slightly (5-10 points). This makes phone footage look more vibrant and professional.
Step 7 — Add intro and outro Add a 5-second branded intro (create in Canva) at the start and a 15-20 second outro asking viewers to subscribe at the end.
Step 8 — Export Tap the export icon (top right) → Select 1080p resolution → 30fps → Export. Save to your camera roll.
Editing Time Expectations
Video Length | Estimated Editing Time (Mobile) |
|---|---|
5 minutes | 30-45 minutes |
10 minutes | 60-90 minutes |
15 minutes | 90-120 minutes |
20+ minutes | 2-3 hours |
Mobile editing is slower than desktop editing for long videos. If your videos regularly exceed 15 minutes, consider a budget laptop for editing even if you film on your phone.
Uploading and Optimizing from Phone
Uploading via YouTube Studio App
Open YouTube Studio app
Tap the "+" button (bottom center)
Select "Upload a video"
Choose your edited video from gallery
While uploading, complete all metadata
Title Optimization on Mobile
Your title is your most important SEO element. On mobile, tap the title field and follow this formula:
[Primary Keyword] + [Benefit/Hook] + [Year if relevant]

Examples:
"How to Budget on $30,000 Salary — Step by Step"
"YouTube SEO Tips That Tripled My Views in 30 Days"
"Healthy Meal Prep for Beginners — 5 Easy Recipes"
Keep it under 60 characters — anything longer gets cut off in search results.
Description on Mobile
Tap the description field. Write at minimum:
First 150 characters: Keyword-rich hook (appears in search results)
150-200 word summary of video content
Timestamps if video is over 5 minutes
Links to related videos and tools
3-5 hashtags at the bottom
Tags on Mobile
Scroll down to "Tags" field. Add 8-12 relevant tags.
Free Tool: Use YTNiches YouTube Tag Extractor on your phone's browser to extract competitor tags — then copy and paste them directly into your upload.
Thumbnail Upload on Mobile
Do not use YouTube's auto-generated thumbnail. Create a custom thumbnail in Canva mobile and upload it:
YouTube Studio → Video details → Custom thumbnail → Choose from gallery
Custom thumbnails consistently outperform auto-generated thumbnails in click-through rate.
Scheduling Your Upload
Rather than publishing immediately, schedule your video for your optimal posting time:
YouTube Studio → Video details → Visibility → Scheduled → Set date and time
Growing Your Channel from Mobile
Monitor Analytics on the Go
YouTube Studio app provides full analytics access from your phone:
Dashboard: Quick overview of recent performance
Analytics tab: Deep dive into views, watch time, CTR, revenue
Comments tab: Respond to every comment from mobile
Make it a daily habit to check your analytics and respond to comments — even if just for 10 minutes from your phone.
YouTube Shorts - Your Mobile Advantage
Phone creators have a unique advantage with YouTube Shorts. Vertical smartphone footage is the native format for Shorts — no conversion, no cropping, just direct upload.
Shorts strategy for phone creators:
Film 30-60 second clips vertically after each main video session
Repurpose your most interesting moments as Shorts
Post 3-5 Shorts per week for maximum algorithmic reach
Add your channel link and video CTA in each Short description
Niche Selection - The Most Important Decision
Your phone is capable. Your editing apps are capable. The one thing that determines whether your channel succeeds more than any technical factor is your niche selection.
Choosing a high-demand niche with real RPM data before you invest production time is the difference between a channel that monetizes in 6 months and one that struggles for 2 years.
Find your perfect niche: Browse YTNiches on your phone right now — 200+ researched niches with verified RPM data, content calendars, and script hooks. Free to start, no credit card needed.
FAQ
What phone is best for YouTube?
Any modern smartphone from the last 3 years is sufficient for YouTube. The iPhone 15, Samsung Galaxy S24, and Google Pixel 8 are the top performers for video quality. However, even mid-range phones like the Samsung Galaxy A54 or iPhone SE record in full HD quality that is completely acceptable for YouTube. The phone you already own is the best phone to start with — upgrade later when revenue justifies it.
Can I edit YouTube videos on my phone?
Yes — completely. CapCut (free), VN Video Editor (free), and iMovie (free for iPhone) are all capable of producing professional-quality edited videos entirely on your phone. For basic to intermediate editing — cuts, captions, music, text overlays, color grading — mobile editing apps in 2026 match what desktop software offered 5 years ago.
Is phone quality good enough for YouTube?
Yes. Modern smartphones record in 4K and 1080p — more than sufficient for YouTube. The platform compresses all uploaded videos anyway, meaning the difference between phone footage and camera footage is even less noticeable after compression. What matters more than camera quality is lighting, audio, and content value — all achievable on a phone.
How do I improve audio quality on my phone?
The fastest improvement is a clip-on lavalier microphone ($25-$50) that plugs into your phone's headphone jack or USB-C port. Film in quiet rooms, close windows to reduce outside noise, turn off fans and AC, and position your microphone close to your mouth. These steps combined produce noticeably better audio than using your phone's built-in microphone alone.
Should I film YouTube videos horizontally or vertically on my phone?
Film horizontally (landscape orientation, 16:9 aspect ratio) for standard long-form YouTube videos. Film vertically (portrait orientation, 9:16 aspect ratio) for YouTube Shorts only. Never upload a vertical video to your main YouTube feed — it will have black bars on the sides and look unprofessional.
How much storage do I need for YouTube videos?
A 10-minute video filmed in 1080p at 30fps uses approximately 1.5-2GB of storage. In 4K, the same video uses 4-6GB. For a channel posting twice weekly, you need at least 32GB of available storage — preferably 64GB or more. Use cloud backup (Google Photos, iCloud) to clear your phone storage after uploading edited videos.
Can I run a YouTube channel entirely from my phone?
Yes — filming, editing, uploading, optimizing, and managing analytics can all be done entirely from a smartphone in 2026. Many successful creators run their entire YouTube operation from mobile. The only limitation is editing speed for very long videos (20+ minutes) — where a laptop becomes noticeably more efficient. For most creators starting out, a phone is completely sufficient.
Final Thoughts
The phone in your pocket is a complete YouTube production studio. It films, records audio, edits video, creates thumbnails, uploads content, and manages your channel analytics — all from one device you already own.
The equipment excuse is gone. The only thing standing between you and your first YouTube video is starting.
Here is your action plan for today:
Right now: Download YouTube Studio and CapCut on your phone
Next 30 minutes: Set up your channel — name, description, profile picture
Today: Find your filming spot with good natural light
Tomorrow: Film your first video — aim for 5-8 minutes
Day after: Edit in CapCut, create thumbnail in Canva, upload with full optimization
Your first video will not be perfect. That is fine — neither was anyone else's. What matters is that you publish it, learn from it, and publish the next one better.
The phone is ready. The platform is ready. Are you?
Tags
Related Articles
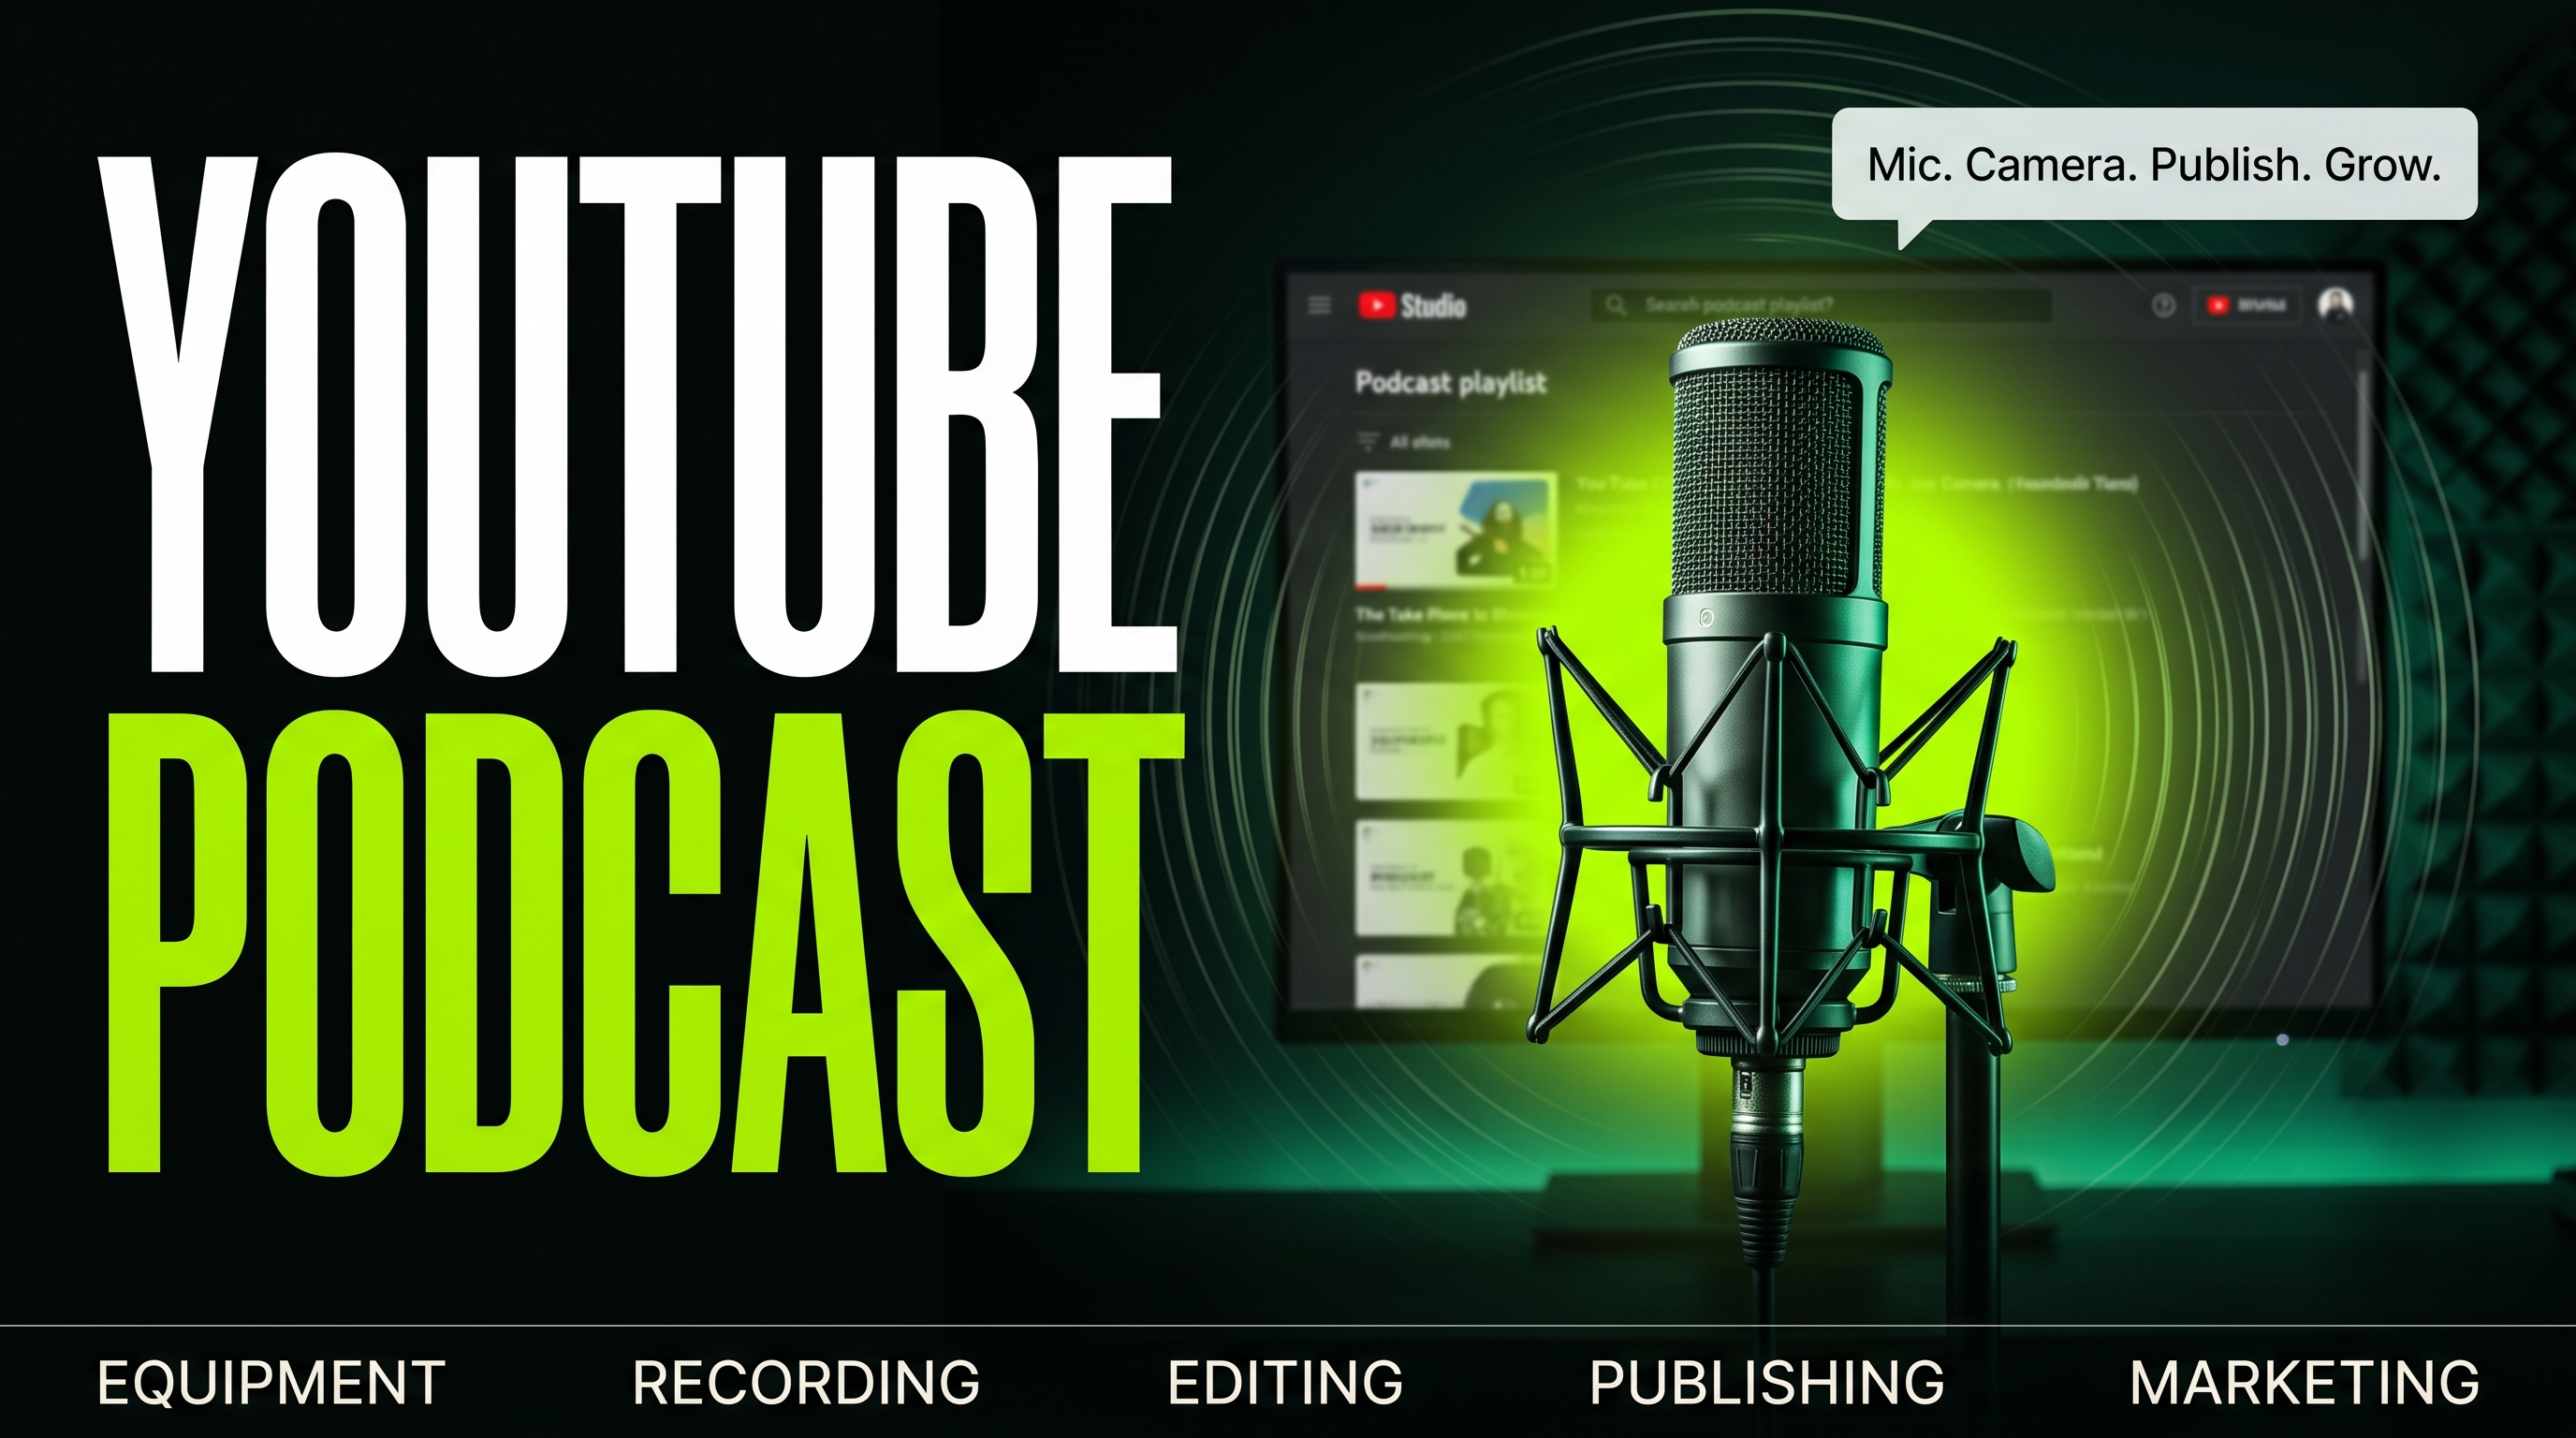
How to Start a YouTube Podcast Channel in 2026 — Complete Setup Guide
Turn your podcast into a YouTube channel and 10x your audience. Learn setup, recording, editing & growth strategies for YouTube podcasts in 2026.
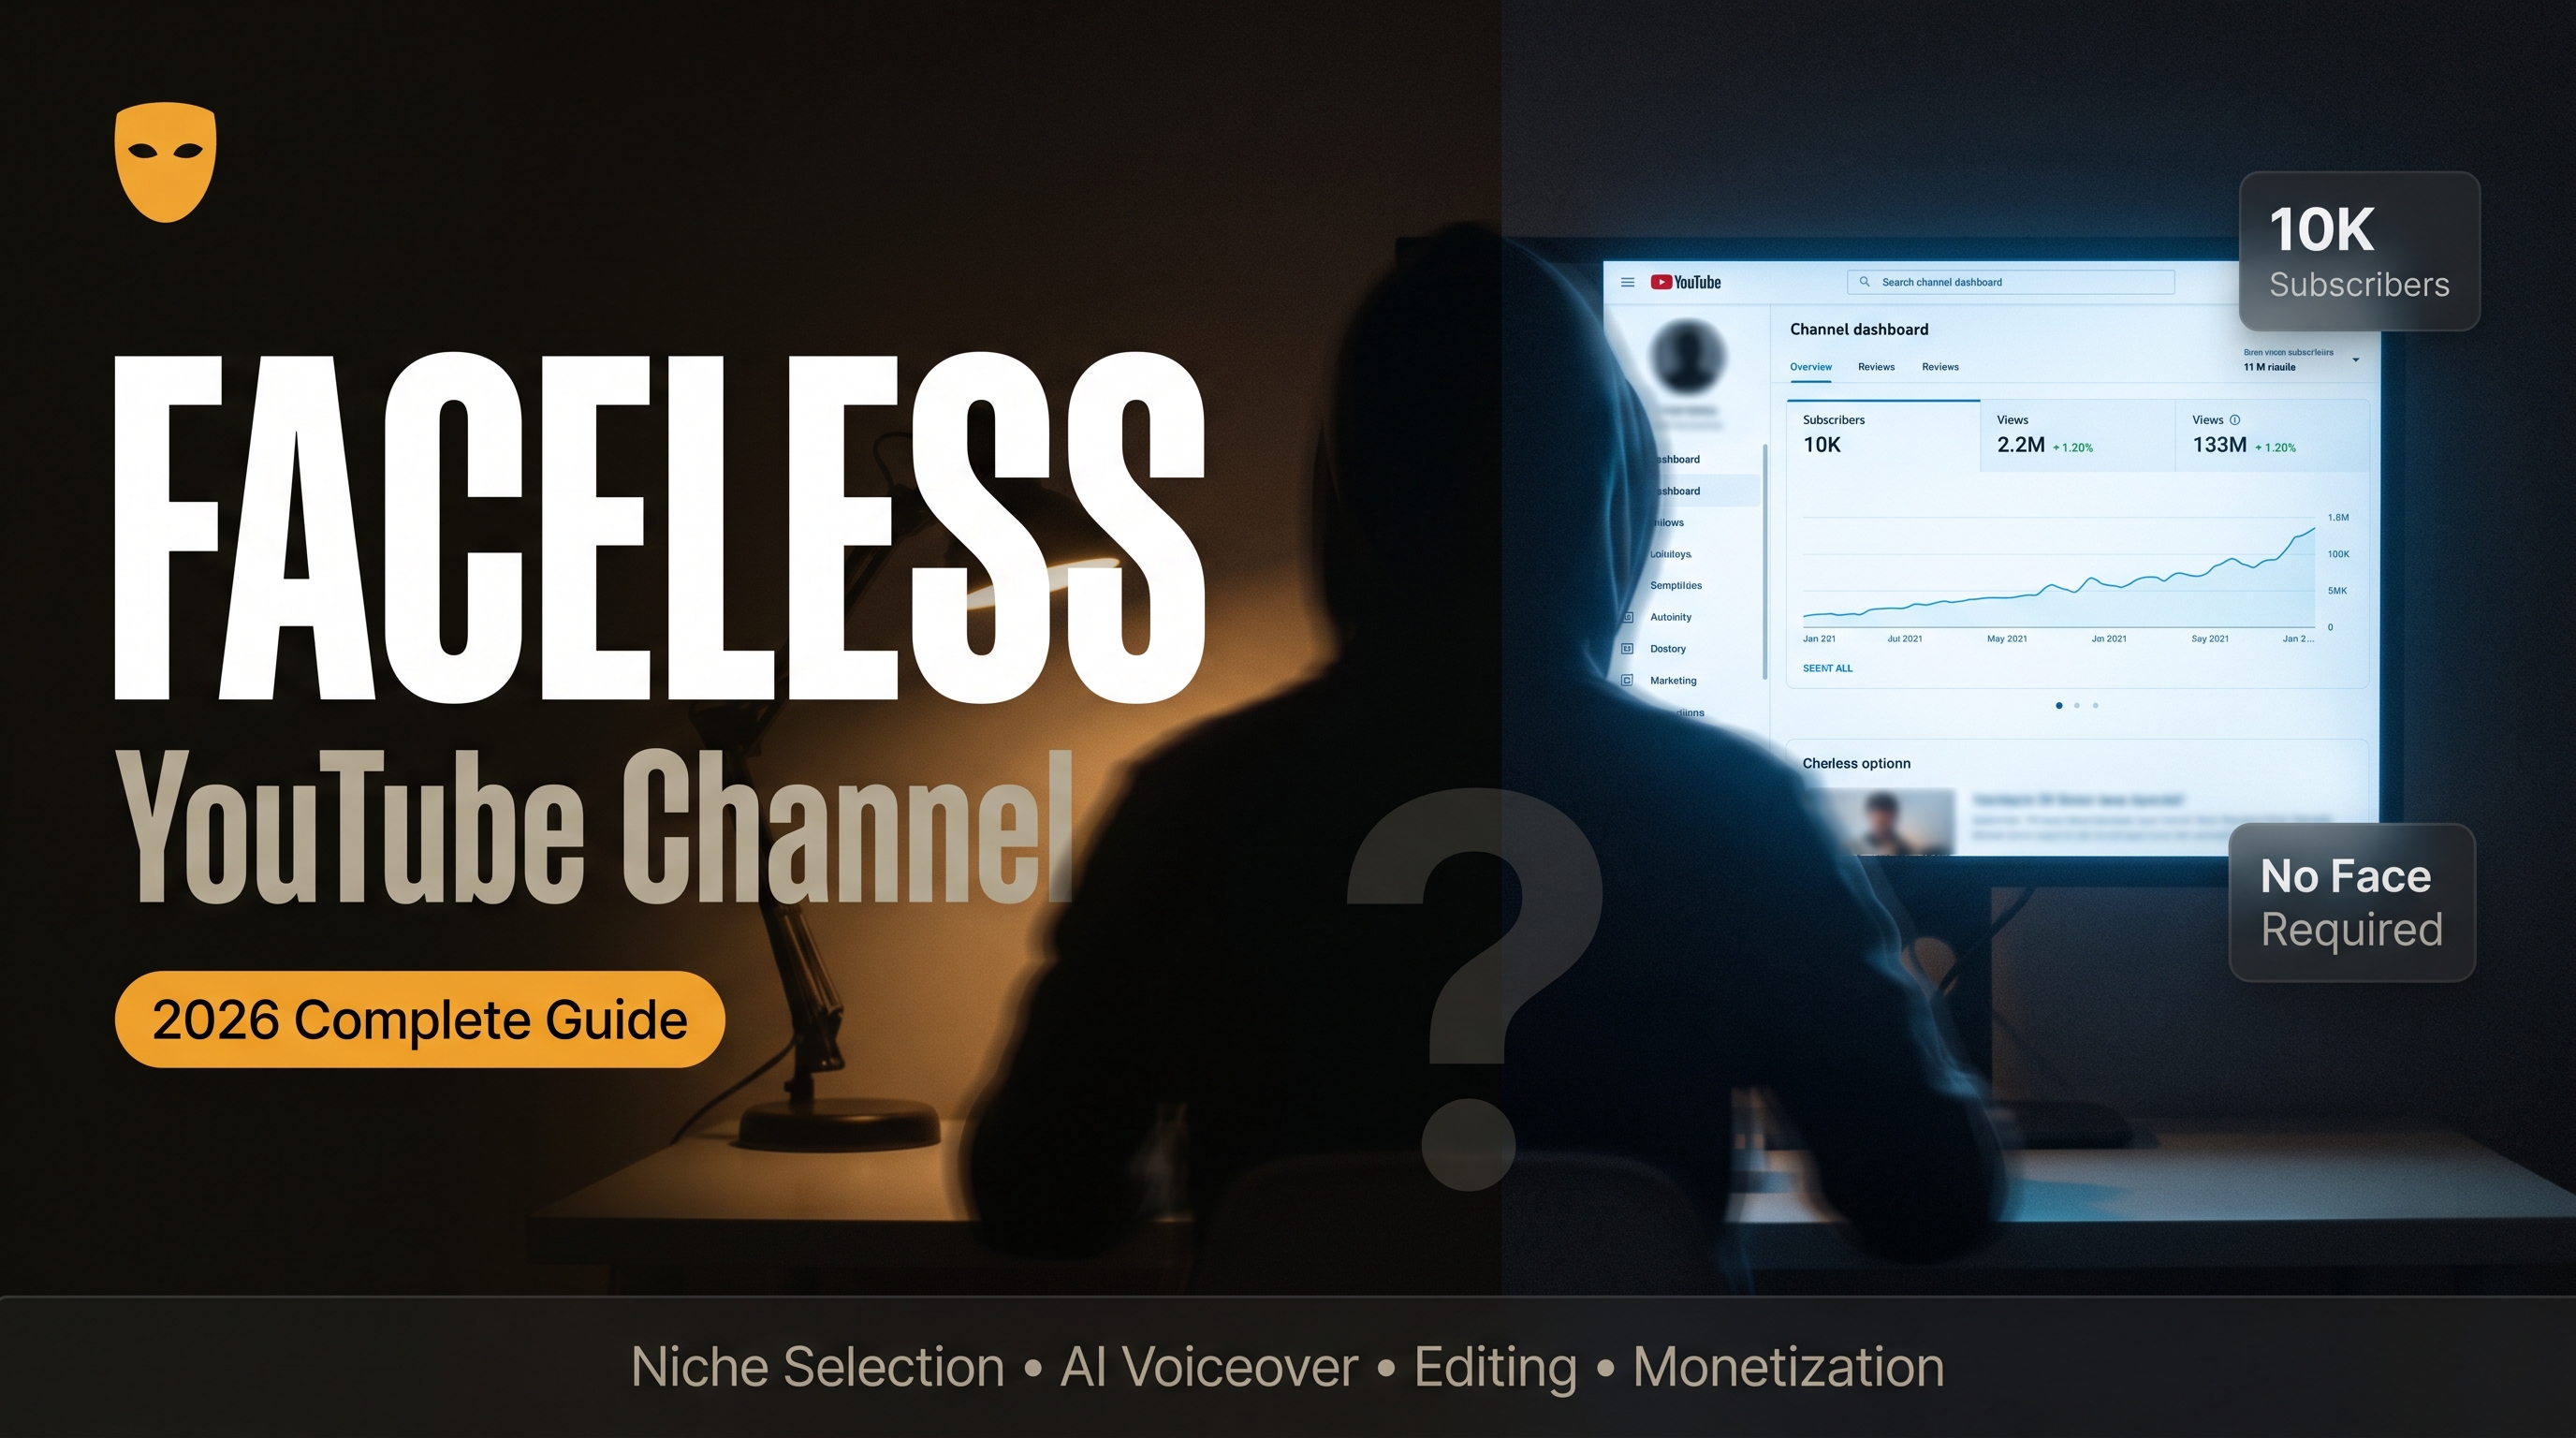
How to Start a Faceless YouTube Channel in 2026 (Complete Guide)
Want to make money on YouTube without showing your face? Learn how to start a faceless YouTube channel with proven niches, tools & content strategies for 2026.
![How to Start a YouTube Channel for Kids in 2026 - [Complete Guide]](https://pub-70d9ae558c734429a28d8dca114f7660.r2.dev/Start%20a%20YouTube%20Channel%20for%20Kids.jpeg)
How to Start a YouTube Channel for Kids in 2026 - [Complete Guide]
Want to start a YouTube channel for your kids? Learn COPPA rules, safe setup, content ideas & parental controls. Complete parent guide for 2026.
Ready to find your YouTube niche?
Browse 200+ researched niches with full AI content kits.
Browse the Niche Library